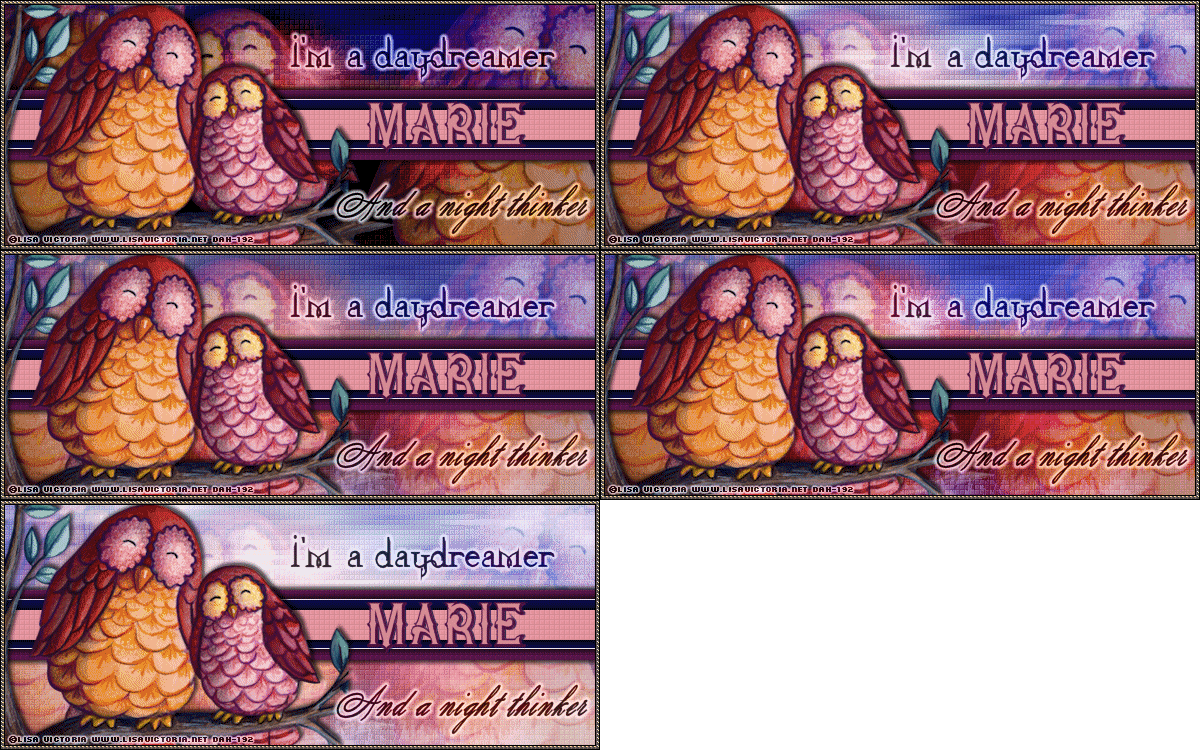
FTU Tutorial: Daydreamer
This tutorial was written by me (Marie's Designs) on June 10, 2016 and is my own creation. I ®reserve all rights to tutorial. Please do not claim as your own. Any resemblance to any other tutorial is purely coincidental. I used PSP X 3 to write this tutorial but it should work fine in other versions. This tutorial assumes you have a working knowledge of PSP
Legend:
C/P Copy Paste / ~ D/S Drop Shadow default setting: 3 -3 58 7.92 / bg: background/ S/F/D: Select All, Float, Defloat / E or el: Element / R: Resize / Unsharp mask Settings: 3 30 3 (Use after resizing if the image looks grainy or blurry
I try to write my tutorials as plain and clear as possible, but if I get you confused (and, if I do, I am sorry) you can always refer back to the image we are making for reference. Also, this is just a guideline (I write where I place the elements ) but, feel free to move them around, or add different elements. Have fun and experiment, it is the best way to learn new things.
I used a tube by ©Lisa Victoria. This tube is available at Digital Art Heaven. You must have a license and purchased this tube to use it. This tutorial works best with a tube with a background image. There are no scraps used on this tutorial.
| Supplies Needed | Fonts |
| Xero: Fritillary | Rapture Heavenly |
| EC 5 Impact | Splendid Ornamentry |
| Ulead particle | Rocket 2 Shadow |
| Super Blade Pro SNTwist03 I could not find this preset, so if you do not already have it here is an image you can use Just right click and save as |
Okay Let's get started
- New 600 x 250 Select All
- C/P bottom Image into selection
- Apply Texture - Fur with these settings : Blur: 69 Desity 0 Length 13 Transparency 23
- Now apply filter Xero: Fritillary at default settings
- Choose 2 colors from your image. I used #62151a (red) and #2e387b (Blue)
If you want to add the animation for a day into night look these hues are the best to use - Selection Tool - Custom Selection: L 0 Top 125 R 600 Bottom 250
- New layer FF red Invert selection FF blue
- keep Selected Ulead particle : Clouds hit random select until you find a setting you like
- Select none
- Apply Fritillary same settings
- C/P tube R 68% move to left - mirror change blend mode to screen opacity 62%
- Duplicate Move to right edge of tag
- New Layer
- Selection Tool custom selection L: 0 R: 600 Top: 90 Left: 160 Select a complimentary color from your image. I chose #58164b Flood Fill Deselect
- Apply Fritillary Same settings
- D/S -3 3 70 5.94 black then change V to 3 and H to -3
- New layer choose a darker color from your image I chose #0b0e43 (A darker Blue)
- Selection Tool Settings L: 0 R: 600 Top: 100 Bottom: 148
- Deselect
- D/s 1 -1 100 white Change V to -1 and H to 1 now add the same D/s as above
- Merge Down
- Choose a lighter color from your image. I used #e2949f
- New layer
- Selection tool: custom selection L -0 R - 600 top - 110 bottom -140 Flood fill with lighter color
- Apply Fritillary filter apply d/s
- Merge Down
- Add text I'm a Daydreamer ( Font: Rapture Heavenly sz 36 ) black
- Text: and a Night thinker ( Font: Splendid Ornamentry sz 36 ) black
- Apply EC 5 Impact subtle white glow - (change radius to 5) to both lines of text. Change blend mode to Luminance (l) opacity at 85%
- New layer select all Flood fill white contract 4 delete - Apply SBP SNTwist03
- New layer - select All Fllod fill black contract 1 delete - contract 3 Flood fill black contract 1 delete.
- Add copyright and locense info.
- Add name and you are done. (unless you want to animate - then leave your name off)
- Open animation shop
- Find raster 2 (this should be the layer that is two different colors)
- On image in psp change blend mode to Burn
- Copy merged In AS paste as new animation
- Back in psp change blend mode to hard light copy merged
- In animation shop paste after current frame
- Continue changing blend mode in this in this order
- soft light
- overlay
- Screen
- There should be 5 frames
- In AS select all
- Animation - Frame properties change to 50
- Save as a MNG file
- Optimization Wizard: Settings - Better image quality slider at the top
- Click on Customize Settings: Number of color - 255 colors; create palette by - optimized Octree: Reduce colors by - Error Diffusion Ok
- Next Next
- Add name(s) to animation
- I used font Rocket 2 Shadow for my name
- Save as (name) gif file and you are done
Avatar
- New image 150 X 250
- On banner close the frame layers, copyright info, and background stripe
- Copy Merged
- Back on new image paste as new layer
- Move image around until you have a nice image for your avatar.
- Merge All
- Add border same as we did on the banner
- Add your copyright and license info and name
- Save as jpg or png as per your preference


No comments:
Post a Comment